This post may contain affiliate links. Please read my disclosure policy.

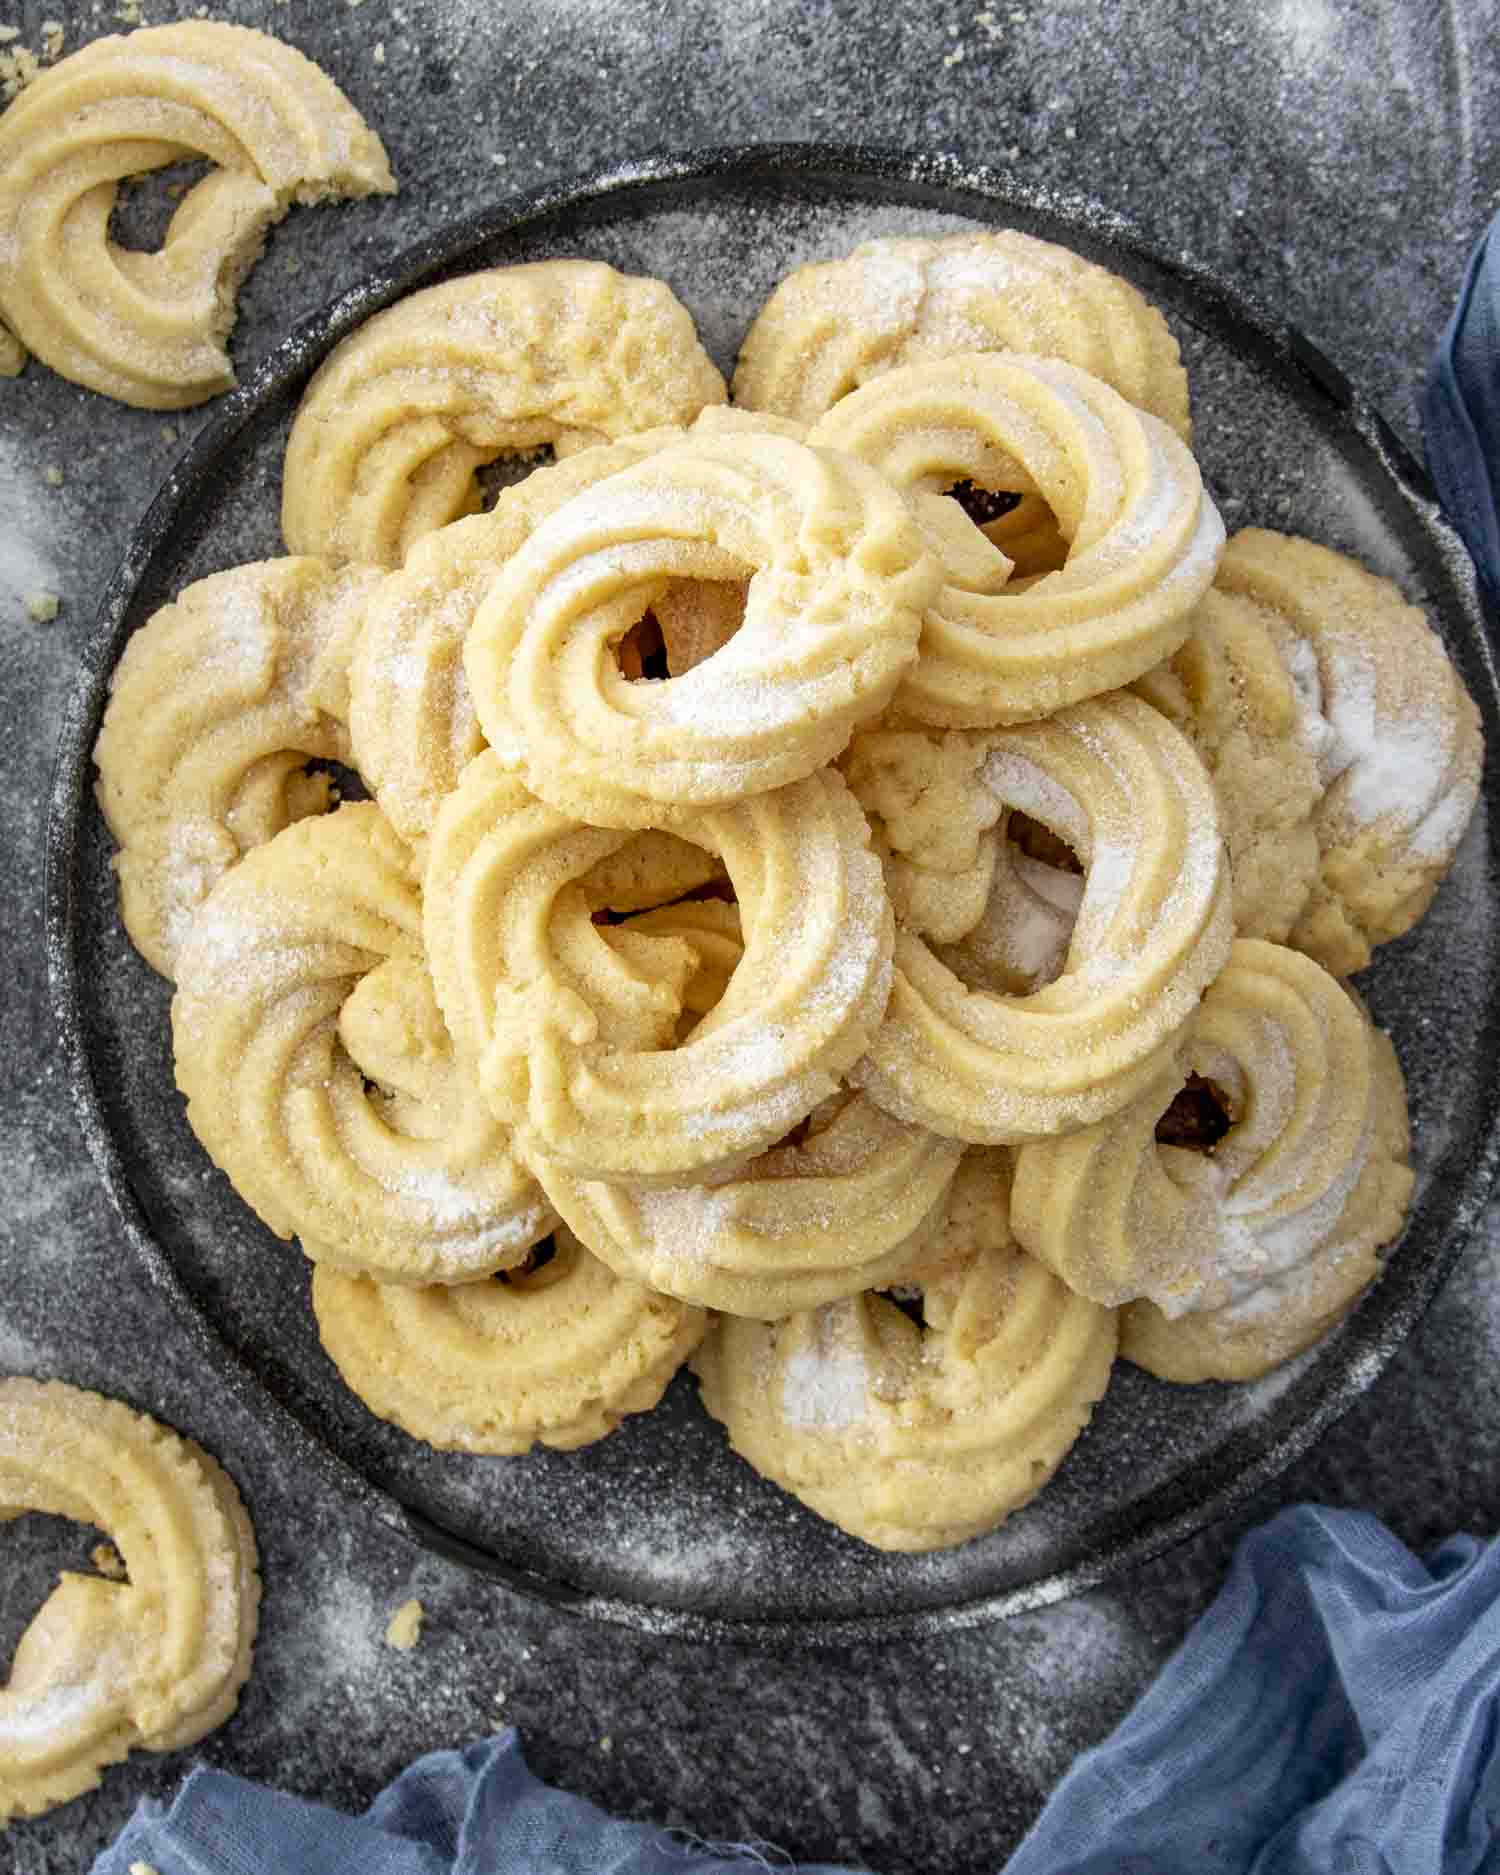
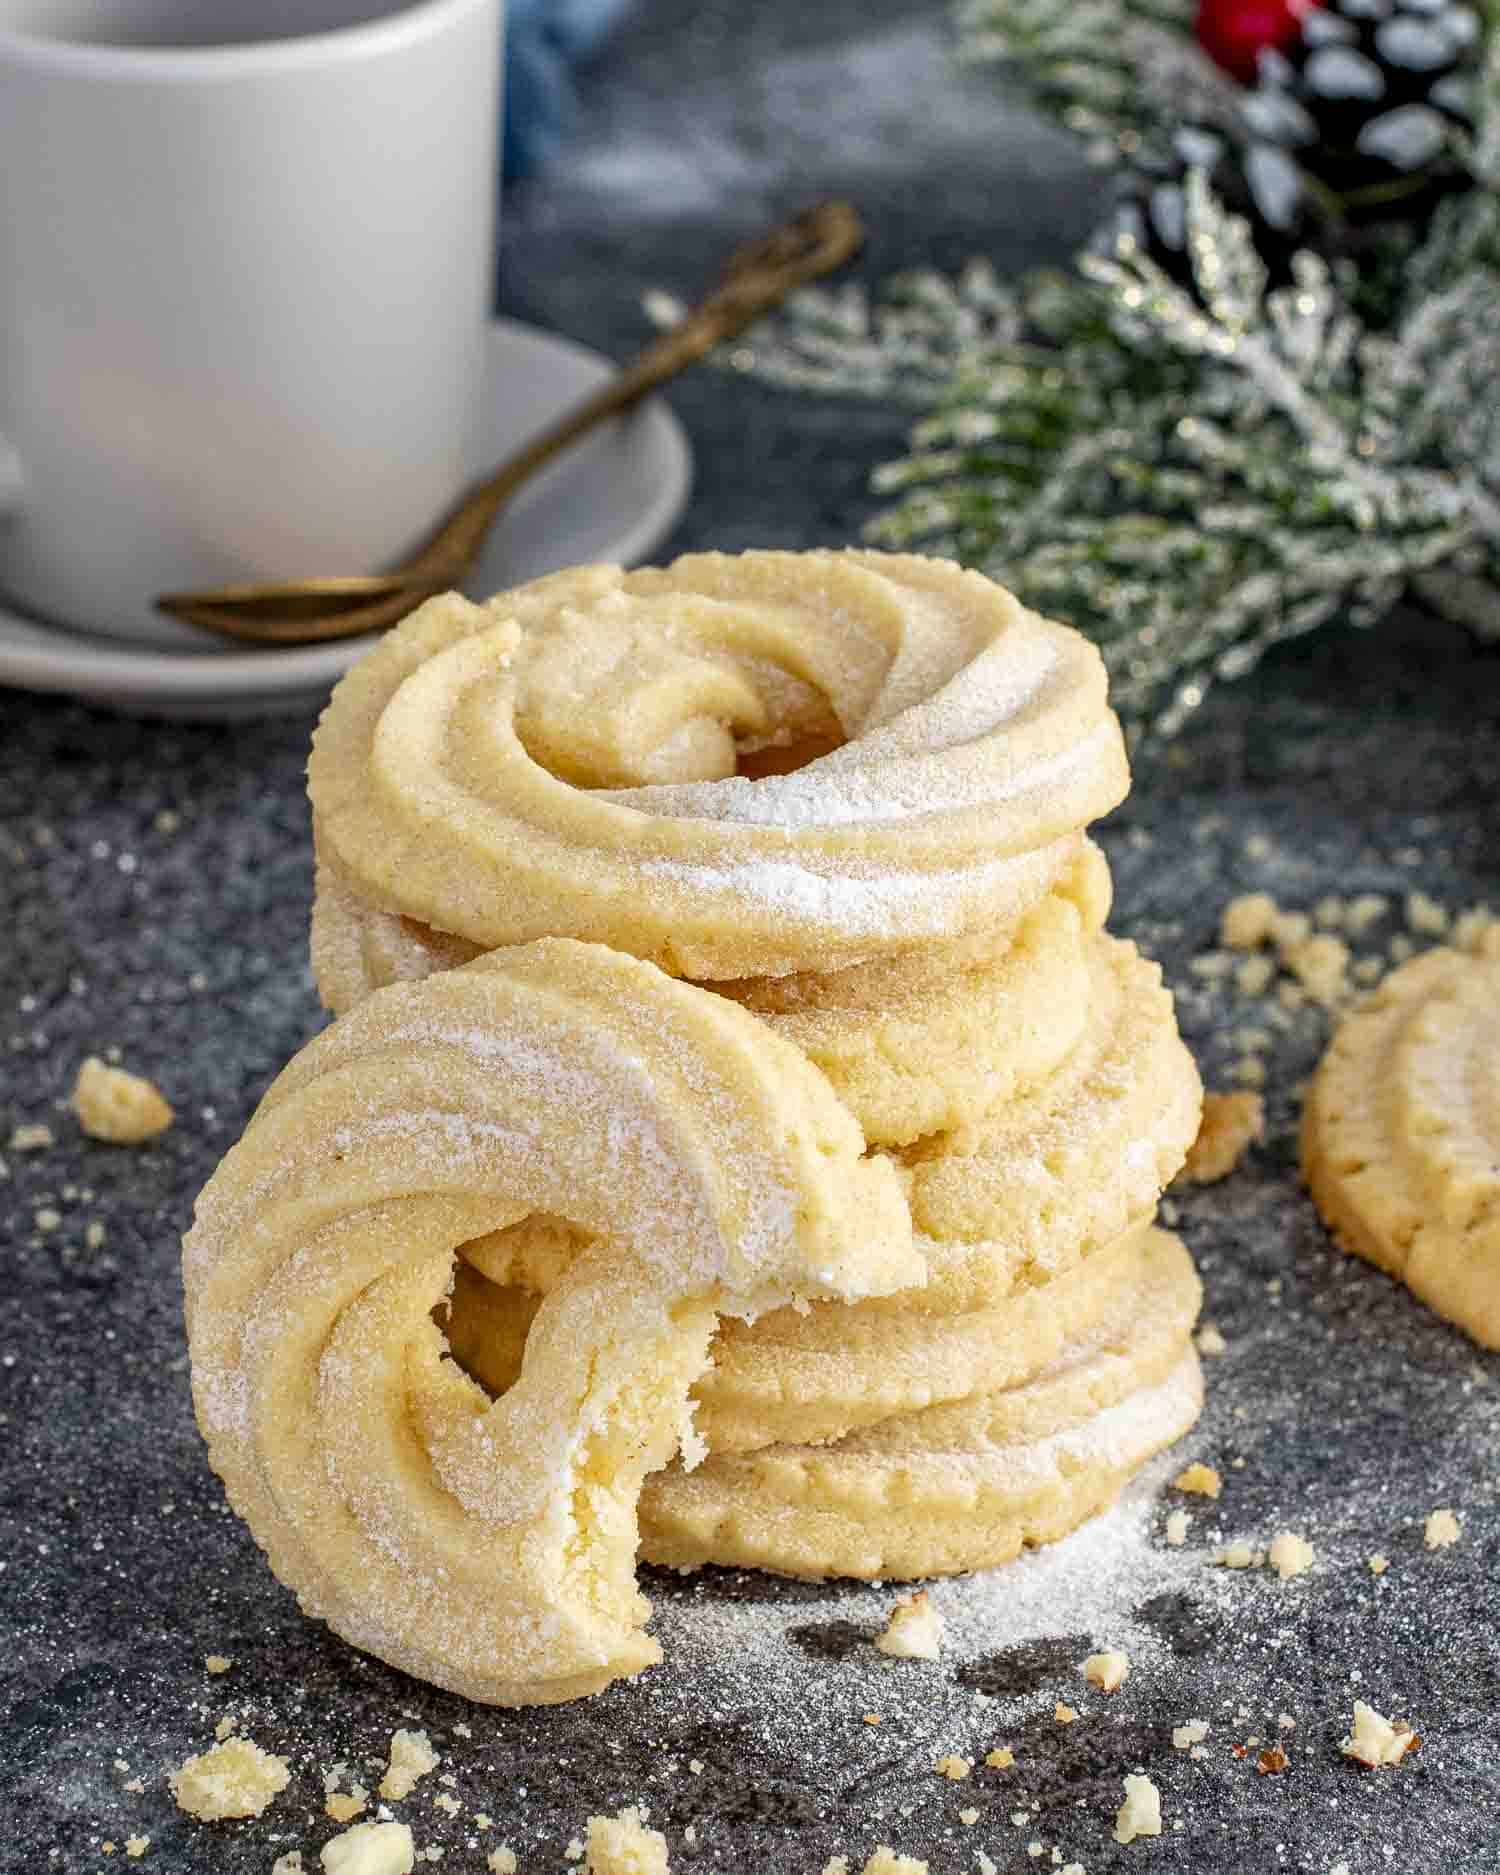
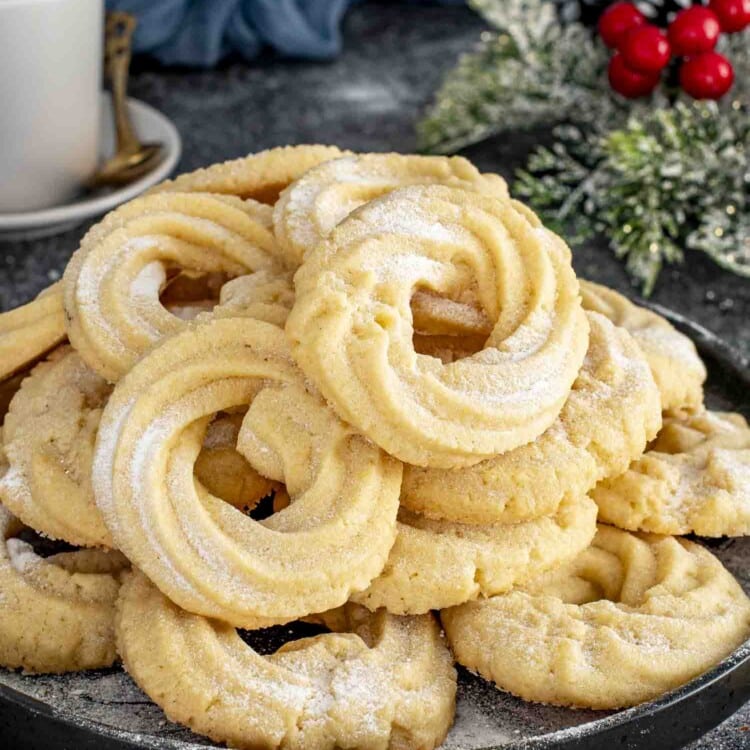
Nothing says “holiday magic” quite like the delicate crunch of Danish Butter Cookies. These golden, buttery delights are perfect for any occasion, whether you’re hosting a festive gathering or just craving a sweet treat to brighten your day.
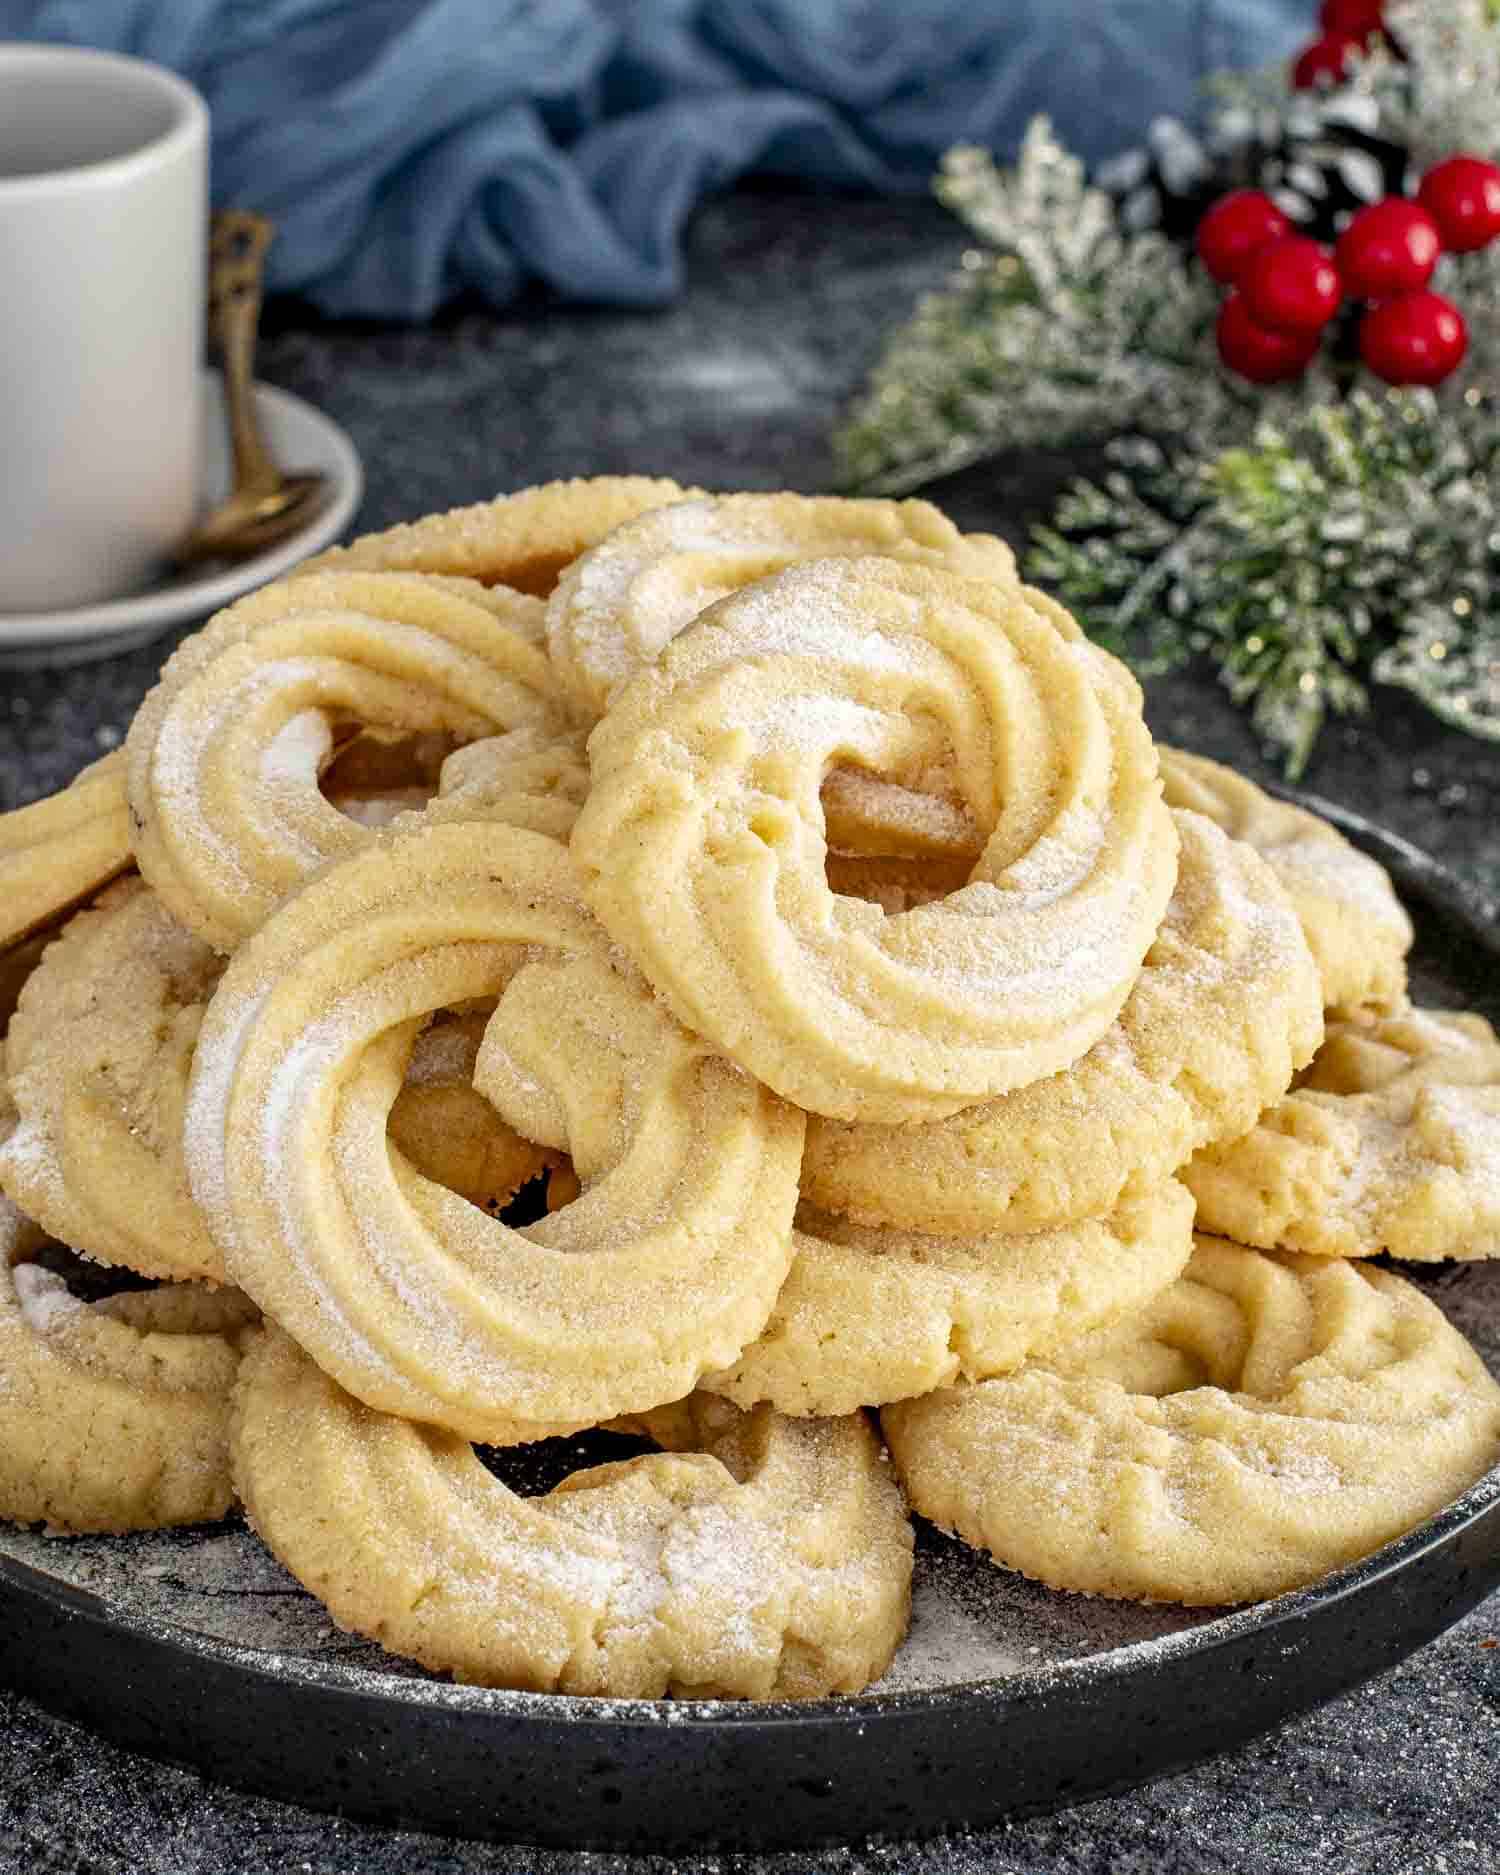
Danish Butter Cookies are my favorite go-to for a simple yet delightful sweet treat. These cookies are buttery and crisp, perfect for any occasion—from holiday gatherings to a cozy afternoon at home. They’re easy to make and hold their shape beautifully, making them ideal for cutting into fun shapes or keeping classic.
Unlike other cookies that might spread too much or lose their form, these Danish Butter Cookies stay neat and delicious every time you bake them. I love how versatile they are, too—you can easily add your own twist with different extracts or toppings.
Before You Start
- Soften the Butter: Make sure your unsalted butter is softened to room temperature. This helps it blend smoothly with the sugar, creating a creamy base for your cookies. If the butter is too cold, it won’t mix properly and your dough might be uneven.
- Sift the Dry Ingredients: Sift together the flour and the salt. This removes any lumps and ensures your dough is nice and smooth. If you don’t have a sifter, you can whisk them together in a bowl.
- Prepare Your Baking Sheets: Line your baking sheets with parchment paper or silicone baking mats before you start piping. This prevents the cookies from sticking and makes cleanup a breeze. It also helps your cookies bake evenly.
- Gather Your Piping Tools: Have your piping bag fitted with a large open star tip ready. If you don’t have one, a sturdy plastic bag with a corner snipped off works just as well.
- Measure Ingredients Accurately: Use measuring cups and spoons to ensure you’re adding the right amounts of each ingredient. Accurate measurements are key to getting the perfect texture and flavor for your cookies.

Ingredients You’ll Need
- All-Purpose Flour: If you need a gluten-free option, a good gluten-free flour blend can do the trick.
- Unsalted Butter: This is what gives the cookies that rich, buttery flavor. If you don’t have unsalted butter, you can use salted butter and reduce the added salt in the recipe.
- Granulated Sugar: Sweetens the dough and keeps the cookies tender.
- Egg: Binds all the ingredients together and adds moisture. If you’re out of eggs, try using a flax egg or a bit of applesauce as a substitute.
- Pure Vanilla Extract: Adds a lovely depth of flavor.
- Almond Extract (Optional): Gives a subtle almond flavor. You can skip this or add a little extra vanilla if you prefer.
- Salt: Enhances all the other flavors. If you’re using salted butter, you might want to use less salt in the recipe.
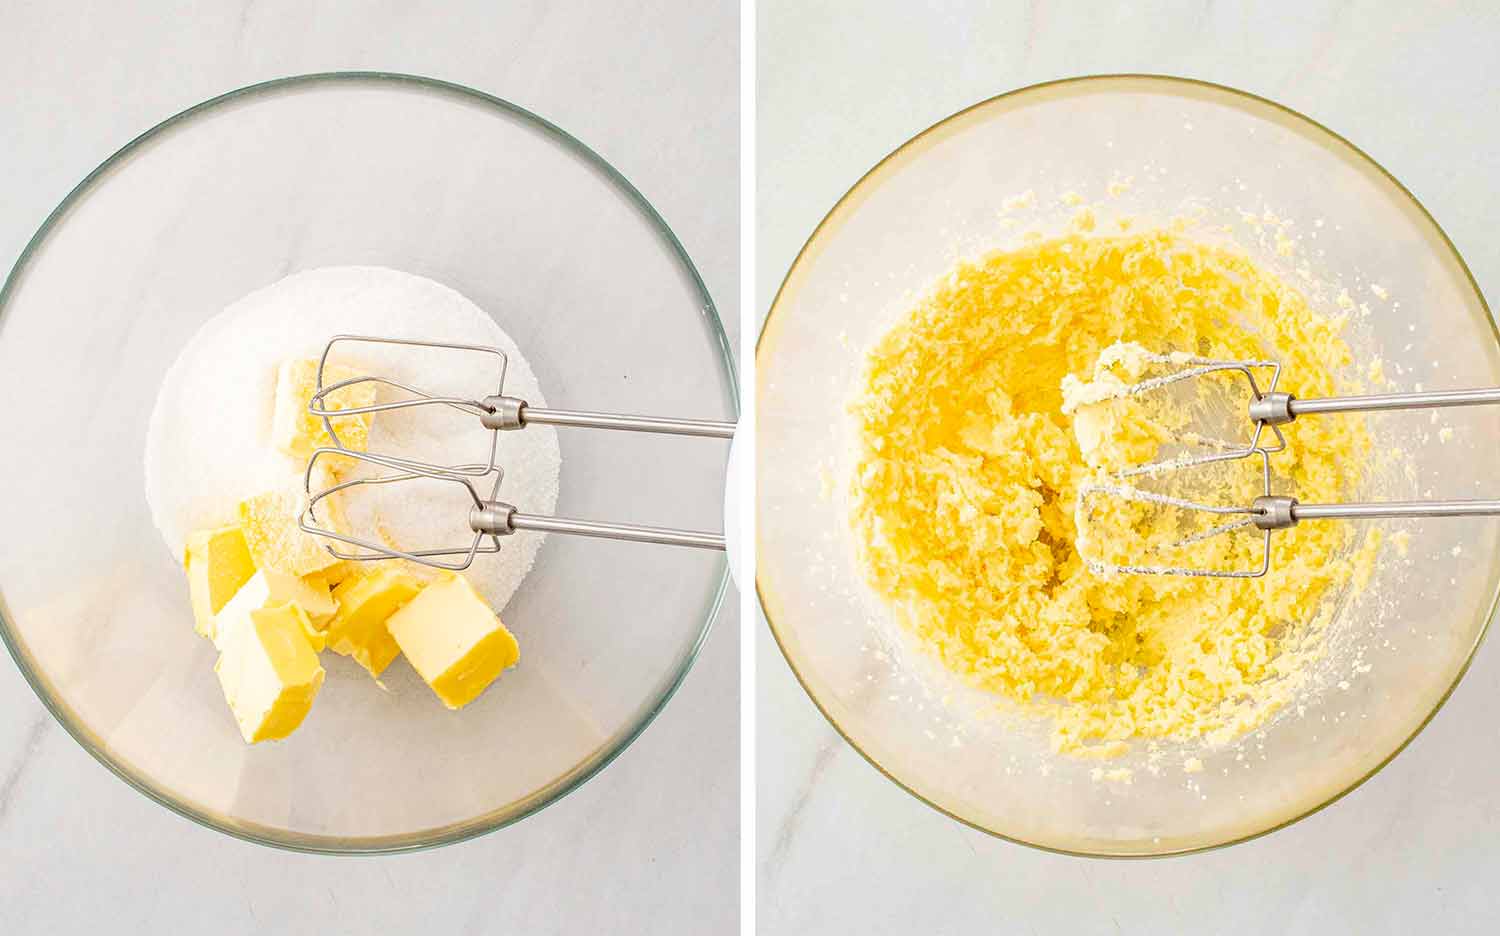
Start by mixing 1 cup of softened unsalted butter with 1 cup of granulated sugar in a large mixing bowl. Use an electric mixer on medium speed and beat until the mixture is light and fluffy, about 2-3 minutes.
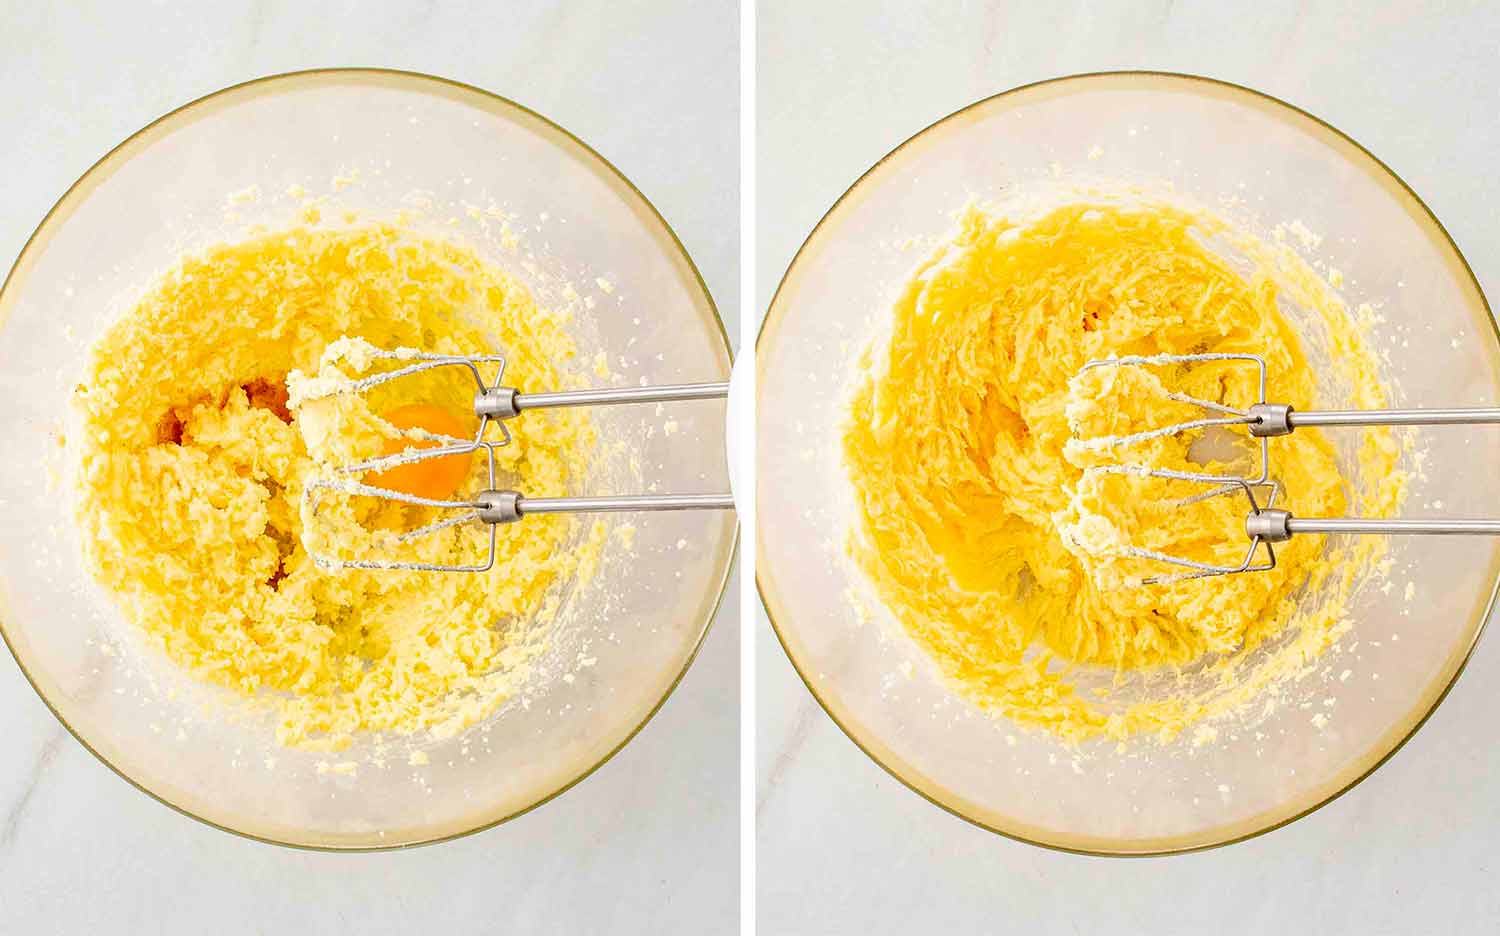
Add 1 large egg, 2 teaspoons of pure vanilla extract, and ½ teaspoon of almond extract (if using) to the bowl. Beat until everything is well combined and the mixture is smooth.
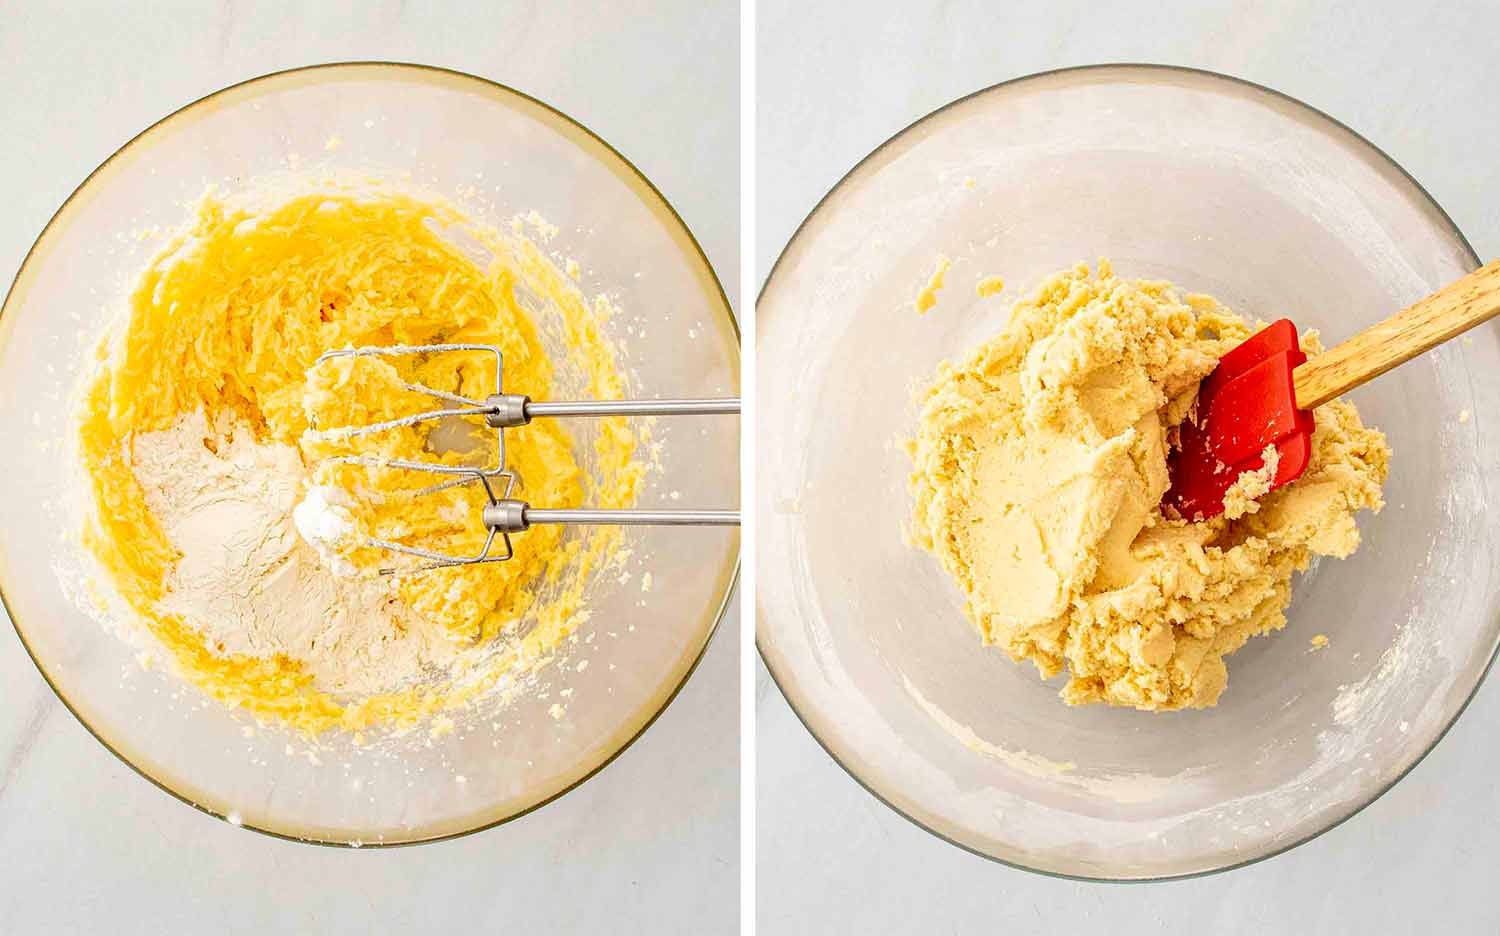
In a separate bowl, whisk together 2½ cups of all-purpose flour and ½ teaspoon of salt. Gradually add the dry ingredients to the wet mixture, mixing on low speed until just combined. The dough should be soft but not sticky. If your dough feels too soft to handle, cover it and refrigerate for about 15-30 minutes. This firms up the dough, making it easier to pipe into shapes without spreading too much.
Preheat your oven to 350°F (175°C). Line your baking sheets with parchment paper or silicone baking mats to prevent the cookies from sticking and to make cleanup easier.
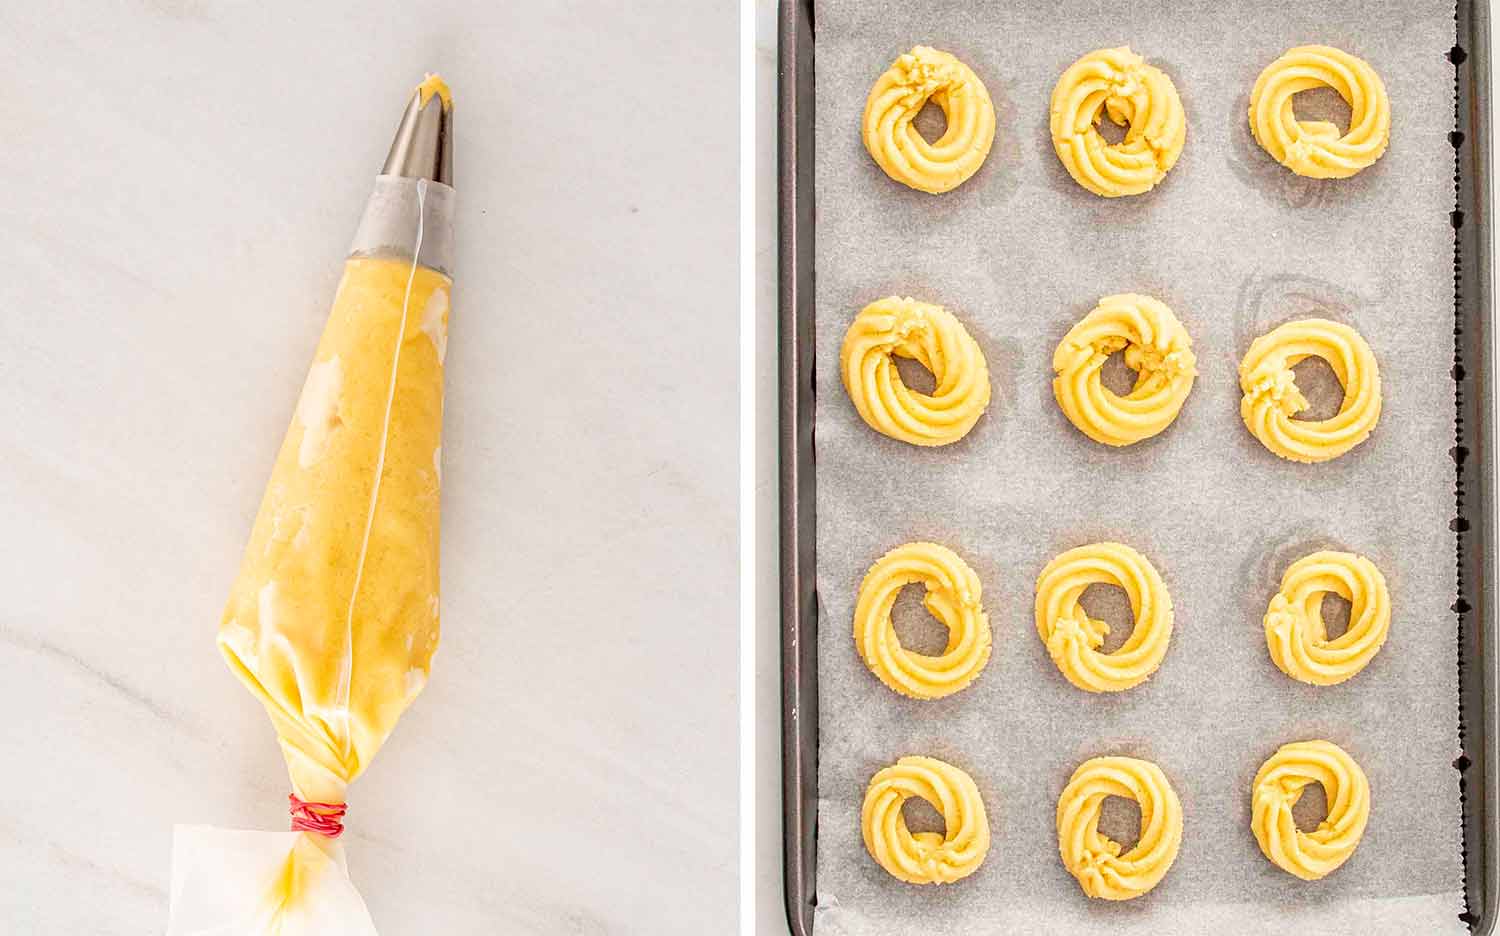
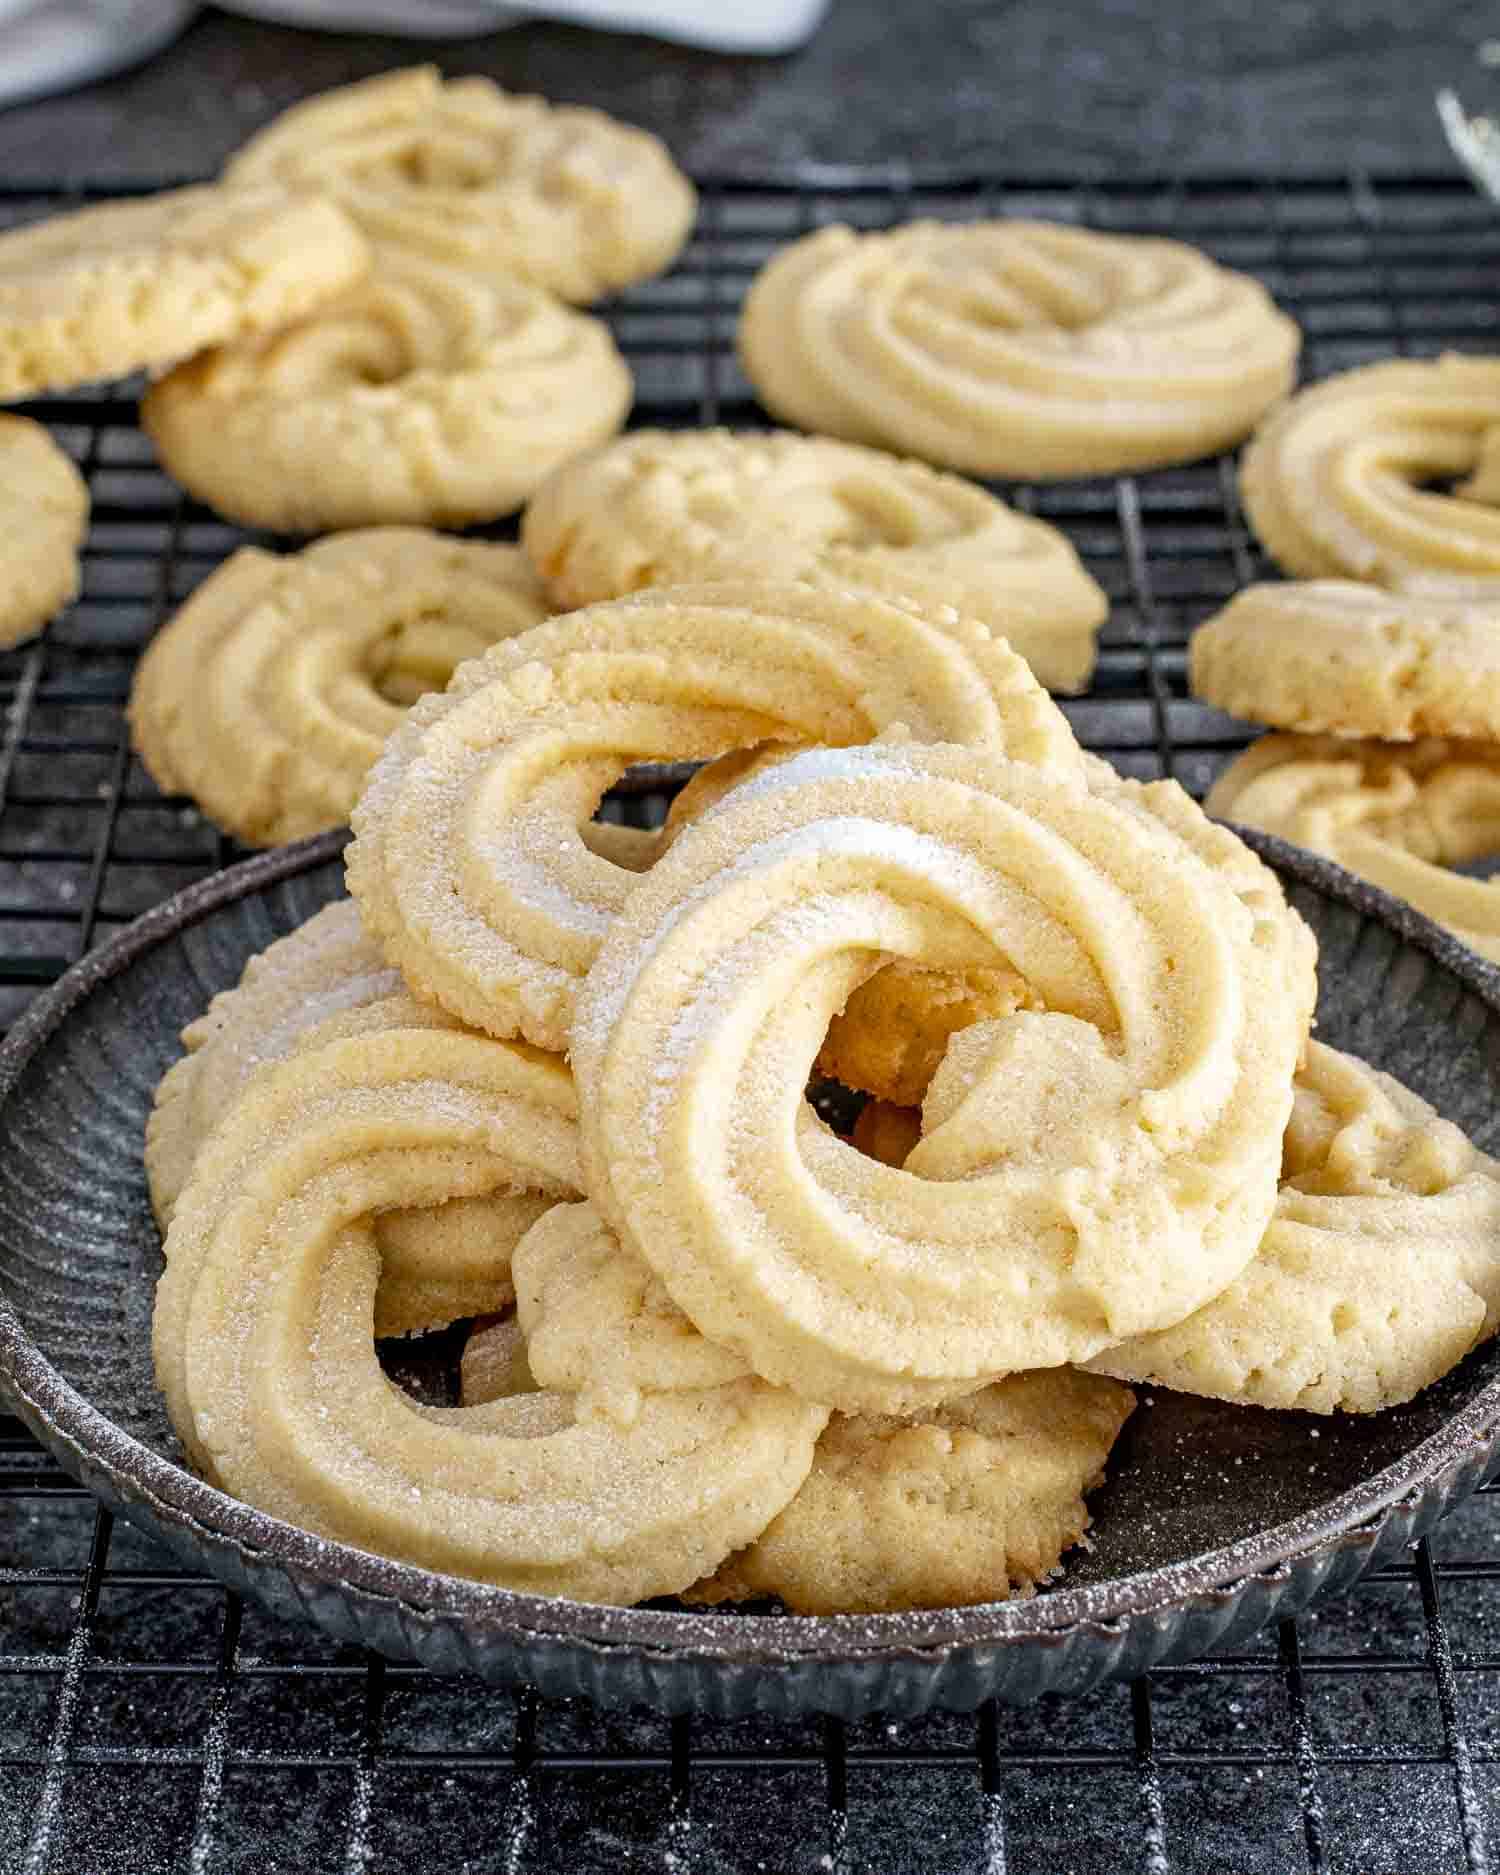
Transfer the dough into a piping bag fitted with a large open star tip, like a Wilton 1M or 4B. Pipe the dough into your desired shapes—circles, swirls, or “S” shapes—on the prepared baking sheets, leaving about 1 inch of space between each cookie.
Tip: If the dough becomes too stiff to pipe, let it sit at room temperature for a few minutes to soften slightly. This makes piping easier without compromising the shape of your cookies.
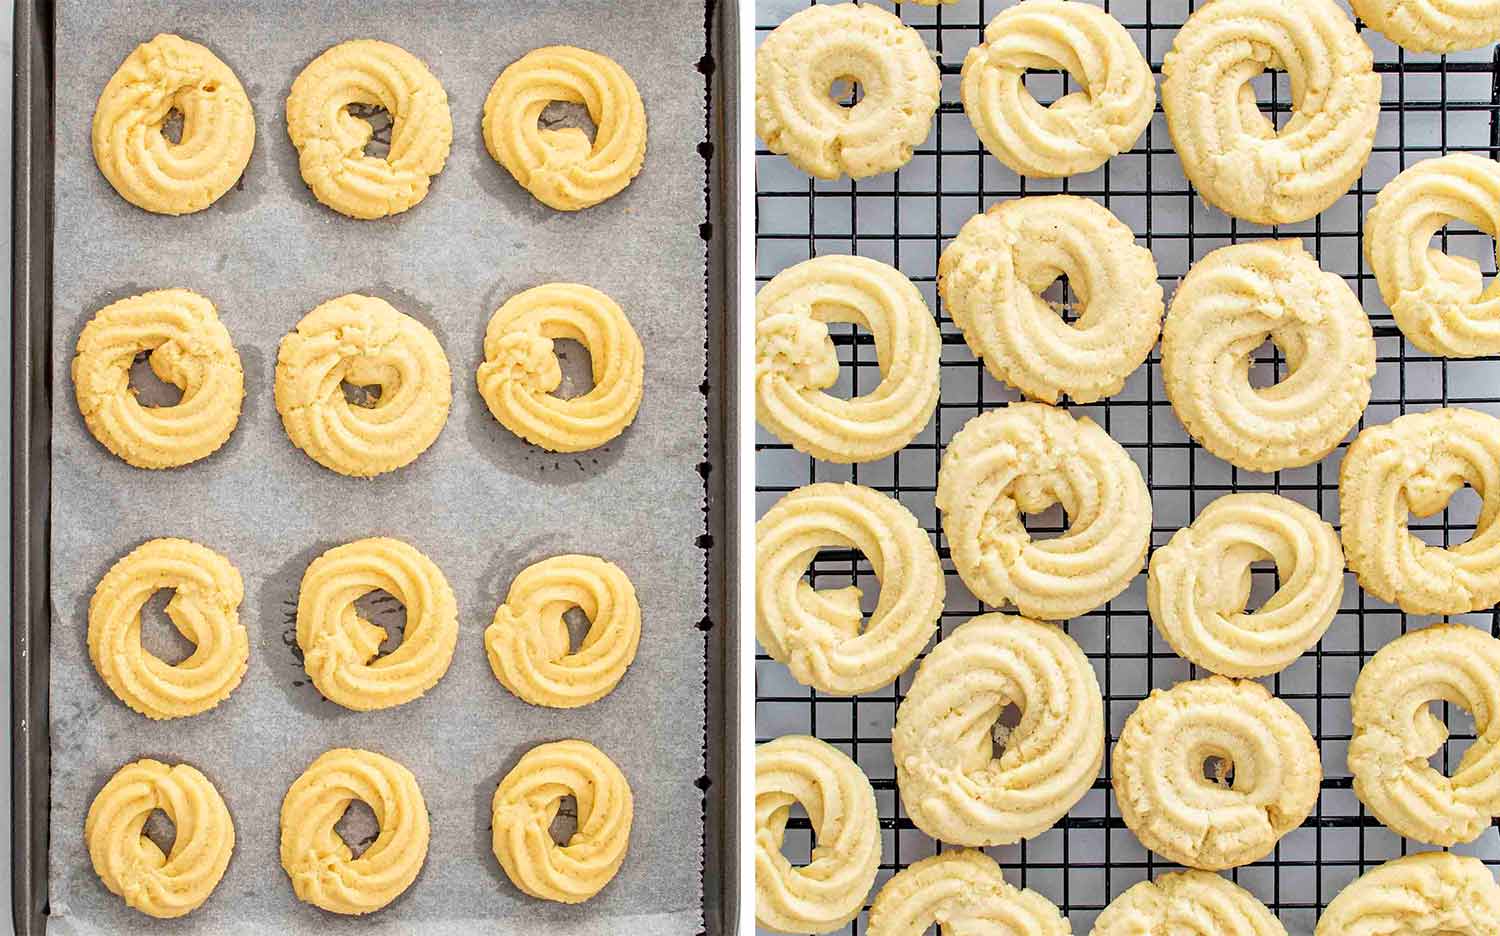
Place the baking sheets in the preheated oven and bake for 10-12 minutes, or until the edges of the cookies just begin to turn light golden brown. Remove the baking sheets from the oven and let the cookies cool on the sheets for about 5 minutes. Then, transfer them to a wire rack to cool completely.
Frequently Asked Questions
How long do Danish Butter Cookies stay fresh?
Danish Butter Cookies stay fresh for up to 2 weeks when stored in an airtight container at room temperature. For longer storage, you can refrigerate them for up to 1 month.
Can I freeze Danish Butter Cookies?
Yes! Place the completely cooled cookies in a zip-top freezer bag or an airtight container. They can be frozen for up to 3 months. To enjoy, let them thaw at room temperature or warm them slightly in the oven.
What if I don’t have a piping bag?
No worries! You can use a sturdy plastic bag with a corner snipped off as an alternative to a piping bag. It works just as well for shaping your Danish Butter Cookies without the mess.
How can I make the cookies more festive for holidays?
Decorate your Danish Butter Cookies with sprinkles, colored sanding sugar, or drizzles of melted chocolate. You can also add edible glitter for a touch of holiday sparkle that makes your cookies extra special.
More Delicious Cookies
- Shortbread Cookies
- Italian Almond Cookies
- Russian Tea Cakes
- Linzer Cookies
- Candy Cane Cookies
- Italian Nut Roll Cookies
Danish Butter Cookies
Ingredients
- 1 cup unsalted butter softened
- 1 cup granulated sugar
- 1 large egg
- 2 teaspoons pure vanilla extract
- ½ teaspoon almond extract optional
- 2½ cups all-purpose flour
- ½ teaspoon salt
Instructions
- In a large mixing bowl, beat the softened butter and granulated sugar together with an electric mixer on medium speed until light and fluffy, about 2-3 minutes. Add the egg, vanilla extract, and almond extract (if using). Beat until well combined.
- In a separate bowl, whisk together the all-purpose flour and salt. Gradually add the dry ingredients to the wet ingredients, mixing on low speed until just combined. The dough should be soft but not sticky.
- If the dough is too soft to handle, cover it and refrigerate for about 15-30 minutes to firm up slightly.
- Preheat your oven to 350°F (175°C). Line baking sheets with parchment paper or silicone baking mats.
- Transfer the dough into a piping bag fitted with a large open star tip (such as Wilton 1M or 4B).
- On the prepared baking sheets, pipe the dough into desired shapes such as circles, swirls, or “S” shapes, leaving about 1 inch (2.5 cm) of space between cookies.
- If the dough becomes too stiff to pipe, allow it to sit at room temperature for a few minutes to soften.
- Bake in the preheated oven for 10-12 minutes, or until the edges are just beginning to turn light golden brown.
- Remove from the oven and allow the cookies to cool on the baking sheet for 5 minutes. Transfer the cookies to a wire rack to cool completely.
- Store any leftovers in an airtight container at room temperature for up to 2 weeks.
Tips & Notes:
- Use High-Quality Butter: Opt for real unsalted butter for the richest flavor and smoothest texture in your cookies.
- Chill the Dough: Don’t skip chilling the dough—it’s essential for easy piping and helps the cookies maintain their shape while baking.
- Experiment with Extracts: Vanilla and almond extracts are classic, but try adding a splash of orange or coconut extract for a unique twist.
- Perfect Consistency: Ensure your dough is soft but not sticky. If it’s too soft, a few extra minutes in the fridge can make all the difference.
- Creative Decorating: Get creative with your cookie designs! Use different piping tips or add decorative toppings like colored sugars and sprinkles to match any theme or holiday.